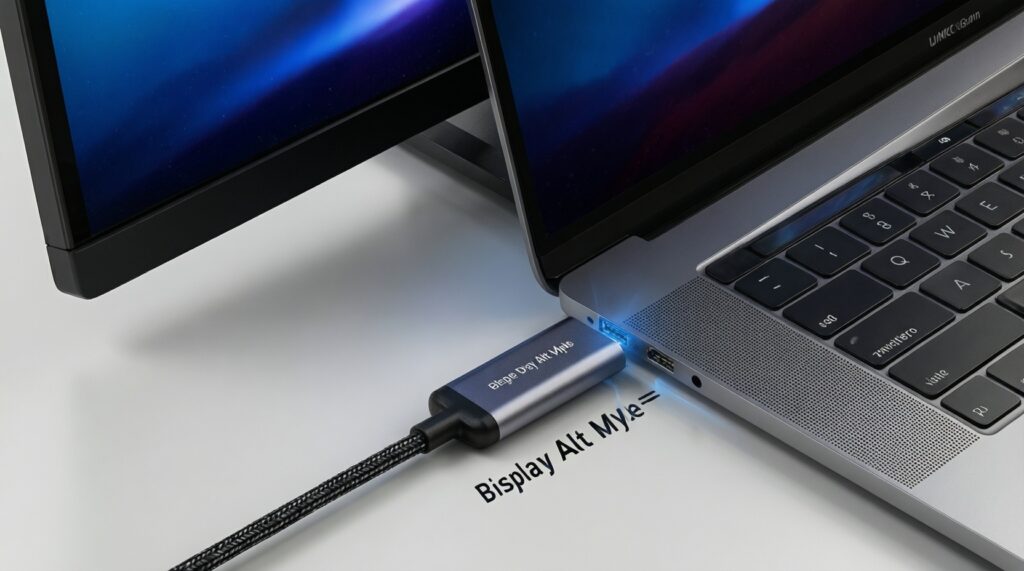
A single-cable USB-C portable monitor can be truly "one plug" with a MacBook only when the monitor accepts video over USB-C (DisplayPort Alt Mode) and the power budget is realistic for your MacBook model. If you need higher brightness, stable charging, extra ports, or multi-monitor workflows, adding power, a dock, or HDMI often delivers more reliable results.
Quick compatibility checklist for MacBook users
- Confirm the monitor supports USB-C video (DisplayPort Alt Mode), not USB-C for power only.
- Check whether the monitor can pass power to the MacBook (USB-C PD pass-through) and at what wattage.
- Verify your MacBook's ports and limits (Apple Silicon base models often have external display constraints).
- Decide if you need "จอพกพา USB-C จ่ายไฟได้ในตัว" (built-in battery) for true mobility.
- Plan your cable path: one USB-C, or USB-C plus charger, or USB-C/HDMI plus hub.
- Make sure macOS scaling looks acceptable at your chosen size/resolution.
How single-cable USB-C portable monitors interface with MacBook
Use these criteria to choose a setup that behaves predictably with macOS and your MacBook (including จอพกพาสำหรับ MacBook Air).
- USB-C video support: Must explicitly state DisplayPort Alt Mode over USB-C; "Type-C" alone is not enough.
- Power direction: Identify who powers whom: MacBook → monitor, or wall charger → monitor → MacBook (PD pass-through), or monitor battery → MacBook (rare and limited).
- PD pass-through stability: Some monitors negotiate PD poorly; look for consistent charging under load (screen brightness up, peripherals connected).
- Port layout: Two USB-C ports on the monitor (one for upstream, one for power) is usually smoother than a single USB-C port.
- macOS compatibility features: Reliable wake/sleep behavior, brightness control method (OSD vs. software), and acceptable scaling options.
- Workload fit: Office + travel differs from color work; don't optimize solely for "one cable" if you need accuracy.
- Accessory expectations: If you already carry a charger and hub, a "one-cable" promise may not reduce your actual carry.
- Total signal path: Long/cheap cables can cause flicker; prefer a known-good USB-C cable rated for video.
When a single USB-C monitor is the smarter choice
If your priority is minimal setup time for a จอพกพา USB-C สำหรับ MacBook, single-cable options can be excellent. The comparison below helps answer จอพกพา Type-C รุ่นไหนดี based on how you actually work.
| Variant | Who it fits | Pros | Cons | When to choose |
|---|---|---|---|---|
| Single USB-C (bus-powered): MacBook powers the monitor | Travelers, quick meetings, light workloads | Truly one cable; least gear; fastest setup | Drains MacBook battery faster; brightness can be limited; fewer ports | When you want the simplest "plug-and-go" and can accept shorter battery life |
| Single USB-C with PD pass-through: one charger powers both | Hybrid workers who plug in at cafés/hotels | One cable to MacBook; MacBook stays charged; cleaner desk | Requires a capable USB-C charger; PD negotiation can vary by monitor | When you already carry a charger and want a mostly single-cable routine |
| USB-C video + separate power to the monitor (two cables) | Users wanting stable brightness and fewer power surprises | More stable than bus power; less battery drain; often higher sustained brightness | Not "one cable"; extra adapter or wall outlet needed | When reliability matters more than minimal cabling |
| HDMI/USB-C hub setup: HDMI for video + USB for power/peripherals | Desk setups, shared monitors, legacy device environments | Flexible; easy to add peripherals; avoids some USB-C edge cases | More hardware; more points of failure; cable clutter | When you need ports, Ethernet, or consistent connectivity across devices |
| Portable monitor with built-in battery (monitor powers itself) | On-the-go users with limited outlets; field work | Matches the idea of จอพกพา USB-C จ่ายไฟได้ในตัว; reduces load on MacBook battery | Heavier; battery aging; still may not charge the MacBook meaningfully | When you need screen time away from outlets more than absolute portability |
| Dual-display travel via dock (one dock cable to MacBook) | Power users needing multiple external screens | One "main" cable to the MacBook; centralized power and ports | Dock cost; compatibility limits by Mac model; not minimal | When your workflow requires more than one external display or many peripherals |
Why you might need extra cables, docks or power for reliable use
- If the monitor flickers, disconnects on wake, or randomly drops to a lower resolution, then try a shorter, video-rated USB-C cable and power the monitor separately instead of bus power.
- If your MacBook battery drains too quickly during meetings, then switch to PD pass-through (charger → monitor → MacBook) rather than MacBook → monitor.
- If you need USB-A devices, wired networking, SD cards, or stable conference-room hookups, then plan for a compact hub/dock and don't optimize only for "one cable."
- If you run a MacBook model with strict external-display limits, then prioritize a single external monitor plus iPad/Sidecar, or use a dock solution designed for multi-display (accepting extra complexity).
- If you use high brightness for long sessions, then avoid bus-powered-only monitors; feed the monitor dedicated power to keep brightness and stability consistent.
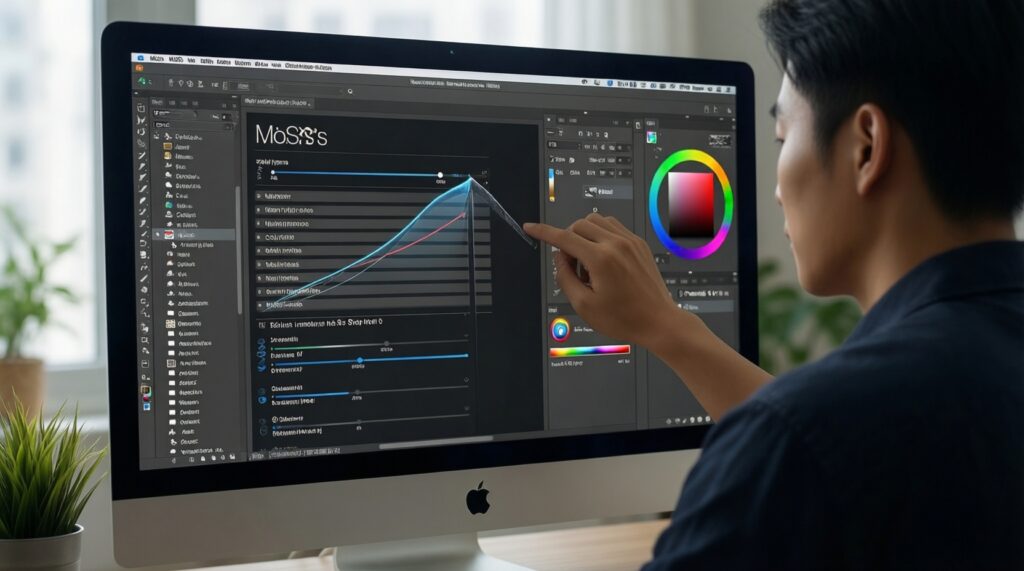
Display performance trade-offs: resolution, refresh rate and color accuracy
- Start with your use case: text-heavy work favors comfortable scaling; creative work favors consistent color controls and predictable profiles.
- Pick size first, then choose a resolution that looks sharp with macOS scaling (avoid "awkward" scaling where text looks soft).
- Decide whether refresh rate is a requirement: prioritize higher refresh for motion/scroll feel; prioritize resolution and brightness for productivity.
- Check panel type behavior: viewing angles and uniformity matter more on portable screens than spec-sheet peak claims.
- Verify how you control brightness and color: hardware buttons/OSD vs. app control; ensure you can quickly adjust in bright environments.
- Confirm the connection mode you'll actually use (USB-C only vs. HDMI via hub) supports your target resolution/refresh reliably.
- Test your real workflow: sleep/wake, clamshell mode, and plugging/unplugging cycles matter as much as raw specs.
Real-world setups: travel, desk, and multi-monitor workflows

- Buying "Type-C" without confirming USB-C video support, then discovering it only accepts power.
- Assuming "one cable" means the MacBook will stay charged; many bus-powered setups reduce MacBook runtime noticeably.
- Underestimating cable quality: a random long USB-C cable can cause black screens, flicker, or limited modes.
- Planning a café workflow without considering power outlets; a PD pass-through or battery-backed monitor can change the experience.
- Choosing a portable display for color work without a realistic calibration/control plan; portable panels vary and are sensitive to lighting.
- Expecting multi-monitor support on every MacBook; some models handle only one external display natively, changing the value of docks.
- Relying on a hub for everything without testing heat and stability during long calls (camera, mic, network, display all at once).
- Focusing on ซื้อจอพกพา MacBook ราคา alone and forgetting accessories (charger, hub, better cable, stand) that may dominate the practical experience.
Budget, longevity and support: total cost of ownership considerations
- If you prioritize the lightest carry and fastest setup, then choose a bus-powered single USB-C monitor and accept the battery trade-off.
- If you often work plugged in, then choose USB-C with PD pass-through and a quality charger so one cable runs the session.
- If you need stable performance for long desk sessions, then choose USB-C video plus separate monitor power (or a docked HDMI path).
- If your workflow needs many peripherals or consistent room-to-room compatibility, then choose an HDMI/hub or dock-centric setup.
- If you work away from outlets for extended periods, then consider a monitor with built-in battery, treating battery aging as part of ownership.
Best fit for frequent travelers is typically a single USB-C setup (bus-powered or PD pass-through) because it reduces friction. Best fit for desk-heavy users is usually a powered monitor plus a small hub/dock for stability and ports. When comparing ซื้อจอพกพา MacBook ราคา, include the likely add-ons (charger, cable, hub) that keep the setup reliable over time.
Practical answers to common concerns about USB-C portable displays
Will any USB-C portable monitor work with a MacBook?
No. It must support video over USB-C (DisplayPort Alt Mode); otherwise the USB-C port may only provide power.
Does "one USB-C cable" mean my MacBook will charge too?
Only if the monitor supports USB-C PD pass-through and you connect a charger to the monitor. Bus-powered monitors usually consume MacBook power instead.
Is a built-in battery monitor worth it for MacBook users?
It can be, if you often work without outlets and want the monitor to power itself. Treat it as a portability feature, not as a guaranteed MacBook charger.
What's the simplest setup for a MacBook Air?
For จอพกพาสำหรับ MacBook Air, a USB-C monitor with reliable PD pass-through is usually the easiest daily setup: one cable to the MacBook, charger into the monitor.
Why does my portable monitor flicker or disconnect on wake?
Common causes are weak bus power, marginal USB-C cables, or unstable hubs. Power the monitor separately and use a known-good video-rated cable.
Can I run two portable monitors from my MacBook?
It depends on your MacBook model's external display support and the connection method. Many users need a dock-based approach and should expect extra cables and setup time.