
For an ultralight, reliable out-of-office setup, pair your MacBook with a USB‑C portable monitor (จอพกพา) that can run video + power over one cable, then lock in a consistent macOS display arrangement and a travel-proof cable strategy. This guide shows what to carry, how to connect, and how to verify performance fast-without bulky docks.
Quick setup checklist - get productive in 10 minutes
- Pack one known-good USB‑C cable that supports video (keep a spare in a separate pocket).
- Confirm your จอพกพา สำหรับ MacBook supports USB‑C DisplayPort Alt Mode (or bring an HDMI adapter).
- Set macOS scaling once (Looks like 1440×900 / 1680×1050 style options) and keep it consistent per location.
- Decide your default layout: MacBook as main display, จอเสริม MacBook as side display.
- Test power: plug charger first, then connect the monitor; verify brightness stays stable.
- Create a "Travel" window layout (Stage Manager or a window manager) and reuse it.
Essential gear checklist for ultralight Mac + portable monitor
-
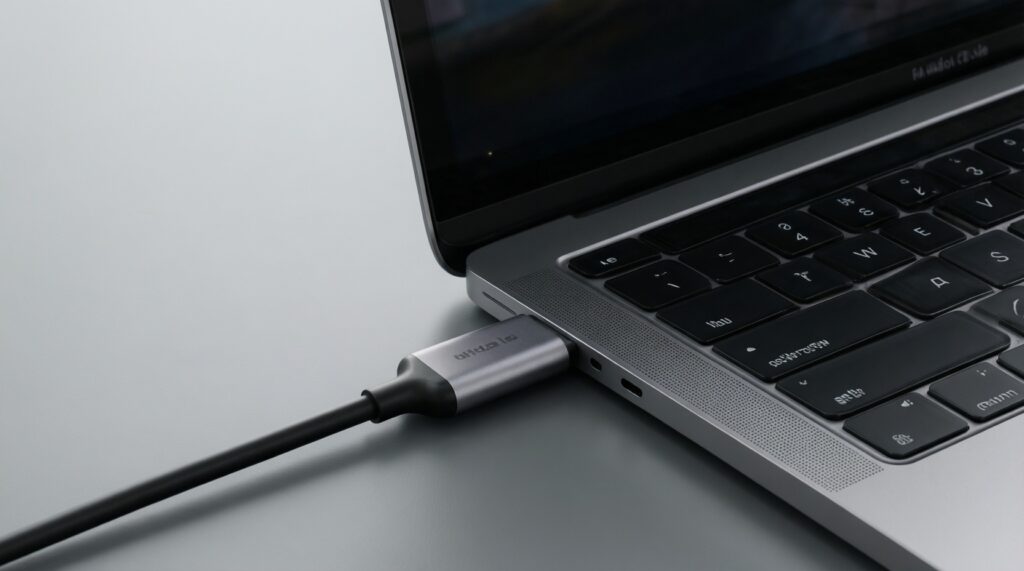
Portable monitor with USB‑C video: Choose a model that supports USB‑C DisplayPort Alt Mode for one-cable simplicity. Verify by checking that the monitor works from your MacBook with only a single USB‑C cable.
- Lighter: USB‑C-only monitor (no hub features).
- More capable: monitor with pass-through USB‑C PD and extra ports.
-
Stand or cover-stand you trust: Ensure it holds stable on small café tables and doesn't collapse when typing. Verify by nudging the table lightly-screen should not wobble into a different angle.
- Lighter: folio cover stand.
- More capable: compact metal stand with angle marks.
-
One primary cable + one spare: Use short, labeled cables to avoid mystery failures. Verify the cable supports video by testing it end-to-end before travel.
- Lighter: one 0.8-1 m USB‑C cable + spare.
- More capable: add a short USB‑C extension to reduce strain on ports.
-
Power plan (charger or power bank): If the monitor draws power from the MacBook, expect faster battery drain. Verify by running 15 minutes at your typical brightness and checking battery drop.
- Lighter: single compact USB‑C charger.
- More capable: charger + USB‑C PD power bank (useful when outlets are unreliable).
- When this setup is not worth it: Skip it for short sessions where setup time exceeds work time, or where desk space is extremely limited. Also skip if your workflow depends on color-critical grading and your portable panel is not calibrated.
Optimal display arrangement and resolution settings on macOS
-
Access needed: macOS System Settings access (no admin tools required). Verify you can open System Settings > Displays.
- Lighter: use built-in settings only.
- More capable: keep a saved window layout using a window manager (see last section).
-
Set the primary display intentionally: In Displays, choose where the menu bar lives (main display). Verify by checking where the menu bar appears after reconnecting.
- Lighter: MacBook as main display for consistent keyboard/Touch ID behavior.
- More capable: external monitor as main when using an external keyboard/trackpad.
-
Choose a stable scaling: Prefer "Default" or one step larger text for readability in bright environments. Verify by opening a code editor and a browser side-by-side and confirming you can read comfortably without zooming.
- Lighter: keep one scaling profile everywhere.
- More capable: separate "Cafe" (bigger text) vs "Hotel" (more space) choices.
-
Match refresh rate when possible: If the monitor offers multiple refresh rates, pick the most stable option for your workload. Verify by scrolling long webpages and moving windows-look for judder or flicker.
- Lighter: leave on default.
- More capable: lock a refresh rate if you see intermittent flicker.
-
Disable automatic brightness if it causes jumps: Some portable displays or Mac ambient adjustments can cause distracting shifts. Verify by keeping the same window open for 2-3 minutes under changing light.
- Lighter: manual brightness on the monitor.
- More capable: fixed brightness + Night Shift schedule for late work.
Ports, adapters and cable strategy for travel reliability
- Clean ports and connectors with a dry, soft cloth. Do not insert metal objects into USB‑C ports.
- Label your "video-capable" USB‑C cable. Many USB‑C charging cables do not carry display signal.
- Decide your fallback path: USB‑C direct first, HDMI adapter second.
-
Start with power for stability: Plug your MacBook charger in first when available, then connect the portable monitor. Verify the Mac stays in "Charging" and the monitor brightness remains steady.
- Lighter: wall charger only.
- More capable: charger plus a short USB‑C PD cable to reduce desk clutter.
-
Connect via USB‑C (preferred one-cable path): Use the labeled USB‑C video cable from MacBook to the จอพกพา. Verify the display appears in System Settings > Displays within a few seconds.
- Lighter: USB‑C to USB‑C only.
- More capable: USB‑C hub with pass-through power if you also need USB-A accessories.
-
Switch to HDMI only if USB‑C video fails: If your monitor supports HDMI, use a USB‑C-to-HDMI adapter from the MacBook to the monitor's HDMI input. Verify you still have a way to power the monitor (separate USB‑C power may be required).
- Lighter: tiny HDMI adapter.
- More capable: multiport adapter with HDMI + USB‑A + PD.
-
Reduce cable strain and random disconnects: Route the cable so it doesn't hang off the table edge or press against the MacBook. Verify by gently moving the laptop 2-3 cm-signal should not drop.
- Lighter: shorter cable.
- More capable: right-angle USB‑C connector (avoid forcing tight bends).
-
Lock in the arrangement once connected: Set the monitor position (left/right) in Displays and keep it consistent. Verify your pointer moves naturally across screens without "teleporting."
- Lighter: keep MacBook center, external on one side.
- More capable: external centered + MacBook as secondary when you use an external keyboard.
-
Confirm you're actually getting the mode you expect: Open a high-contrast page and watch for flicker, washed colors, or random blackouts. Verify by running for 5 minutes before you start critical work.
- Lighter: accept default mode if stable.
- More capable: try another cable or port immediately if instability appears.
Power, charging and battery management while docked
- Plug in charger first when possible; avoid running the monitor solely off MacBook battery for long sessions.
- Confirm the MacBook shows "Charging" (or stable battery percentage) after connecting the monitor.
- Set monitor brightness to the lowest comfortable level; re-check readability in your main apps.
- Disable unused radios when appropriate (e.g., Bluetooth off if you don't use it) and verify your input devices still work.
- Prefer a single power source: either power the monitor from the wall/PD, or accept MacBook drain-don't alternate every few minutes.
- Keep one "emergency" workflow: if power is limited, close the portable display and continue on the MacBook only.
- If using a hub, verify it doesn't get hot to the touch; if it does, reduce load or move it to airflow.
Physical layout and ergonomics for sustained comfort outside the office
- Screen too low: A flat-on-table จอพกพา forces neck flexion. Raise it with a stand and verify your eye line hits the top third of the screen.
- Over-tilted monitor: Excess tilt increases glare and reduces contrast. Adjust until reflections move off your working area and verify by viewing a dark UI panel.
- Cable crossing your mousing zone: It causes snags and micro-disconnects. Route cables behind the monitor and verify free hand movement.
- MacBook too far back: Reaching for the keyboard strains shoulders. Keep the laptop close and verify elbows stay near your body while typing.
- Using the trackpad at a bad angle: Twisting the wrist for hours hurts. If you can't place the MacBook centered, use a small mouse and verify neutral wrist posture.
- Ignoring lighting: Bright overhead lights can wash out portable panels. Rotate the setup 10-20 degrees and verify readability without max brightness.
- Unstable surfaces: Wobbly café tables make the screen shake. Move to a corner table or brace the stand and verify stability by typing a few lines.
- No quick pack routine: Loose cables damage ports. Coil cables the same way every time and verify connectors are not under tension in your bag.
Productivity software, window managers and workflow shortcuts
-
Stage Manager (built-in): Use it if you want minimal setup and predictable app groups across MacBook + จอเสริม MacBook. Verify you can switch contexts without hunting windows.
- When it fits: mixed browser + docs + chat flows.
- Travel alternative: full-screen one app per display for maximum focus.
-
Window tiling with macOS shortcuts: Learn your preferred split (left/right) and keep it consistent. Verify you can place two apps side-by-side in under 10 seconds.
- When it fits: coding + preview, writing + research.
- Travel alternative: use two desktops (Spaces) instead of complex tiling.
-
Third-party window managers (optional): Use one if you repeatedly rebuild layouts after reconnecting the จอพกพา. Verify it restores a saved layout after unplug/replug.
- When it fits: multi-app workflows with consistent geometry.
- Travel alternative: keep a simple two-app layout to reduce setup time.
-
Keyboard-driven navigation: Use Spotlight and app switcher to avoid constant pointer travel between screens. Verify you can open and switch apps without moving your hands off the keyboard.
- When it fits: tight table spaces.
- Travel alternative: keep the MacBook as primary display to reduce cursor distance.
Troubleshooting common connection and performance issues
Why does the portable monitor not turn on over USB‑C?
Confirm the cable supports video, not only charging. Try powering the monitor separately, then reconnect USB‑C to the MacBook.
Why does macOS detect the display but it stays black?
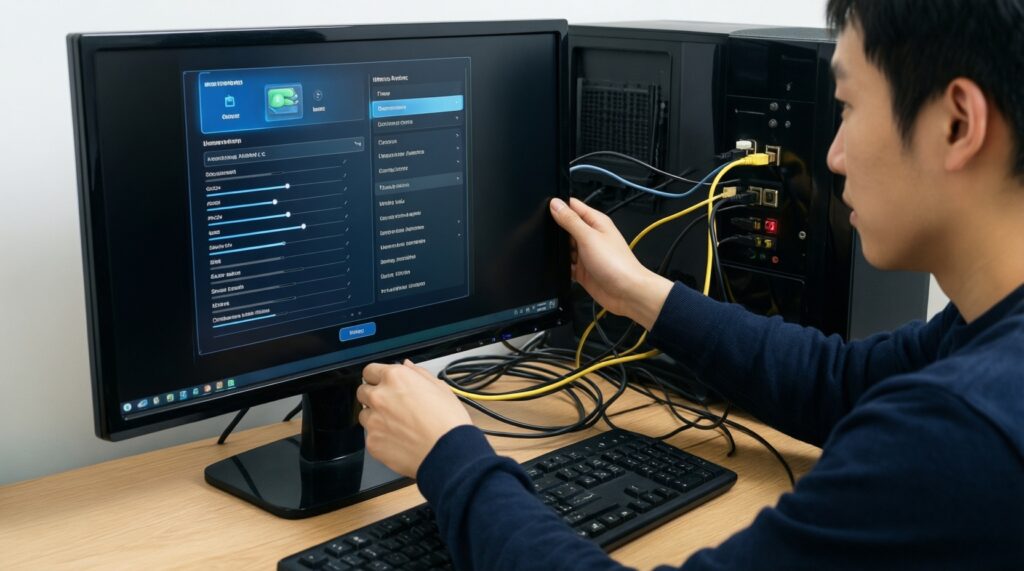
Open System Settings > Displays and switch input/source on the monitor if it has multiple inputs. Unplug/replug once, then try a different port or cable.
What should I do about flickering or random disconnects while working?
Reduce cable strain and shorten the cable run. If the monitor is drawing power from the MacBook, plug in a charger to stabilize power delivery.
How can I fix blurry text on the external display?
Change the scaling option in Displays and avoid unusual non-native modes. Re-check sharpness in a text-heavy app after each change.
Why is there no audio on the portable monitor?
Select the correct output in System Settings > Sound. If the monitor has no speakers, set output back to MacBook speakers or headphones.
How do I reduce MacBook battery drain when using a portable monitor?
Lower monitor brightness and connect the MacBook to a charger. If possible, power the จอพกพา from a separate PD source instead of the laptop.
What should I prioritize when I ซื้อ จอพกพา, beyond จอพกพา ราคา?
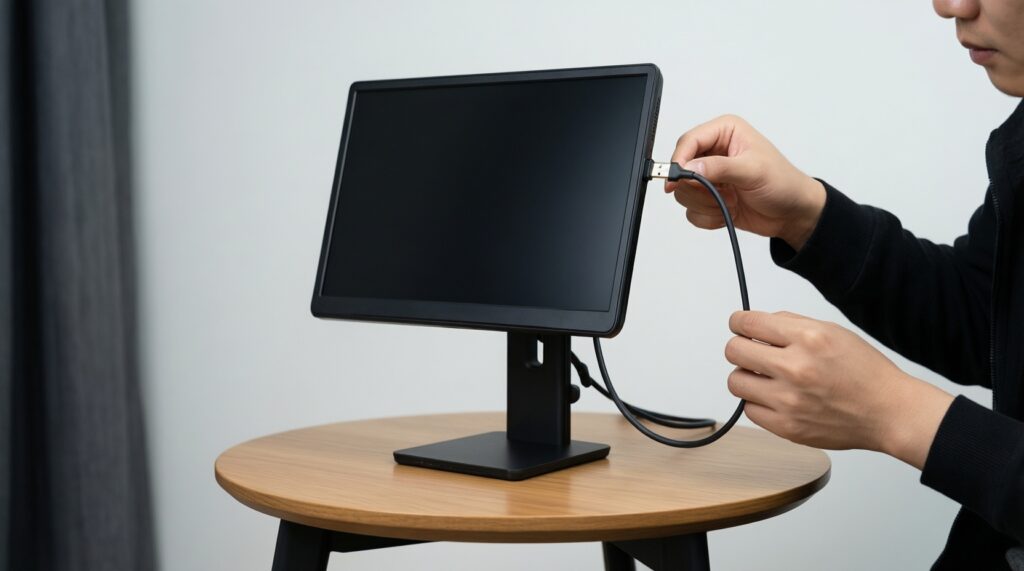
When you ซื้อ จอพกพา, prioritize reliable USB‑C video and a stand that works on small tables over extra features. Do not decide based on จอพกพา ราคา alone-test your exact cable/adapter path first.