
To choose a USB‑C portable display for a Mac without surprises, prioritize three checks: macOS compatibility (USB‑C DisplayPort Alt Mode vs Thunderbolt), usable resolution/PPI for your viewing distance, and a power plan (whether the monitor can pass USB‑C PD to your Mac). Then validate refresh rate options and treat "HDR" as a feature to test, not a guarantee.
Quick decision checklist for Mac USB‑C portable displays
- Confirm the Mac can output video over USB‑C (DisplayPort Alt Mode) and the monitor supports it; don't assume Thunderbolt is required.
- Pick a size/resolution combo that looks sharp at your typical distance (text clarity first, then color/HDR).
- Decide whether you need high refresh (gaming/scrolling) or stable 60Hz for work.
- Plan power: do you want a จอพกพา USB-C จ่ายไฟได้ (USB‑C PD pass‑through) or a separate charger?
- Expect marketing HDR to be inconsistent on portable screens; verify macOS HDR toggle and real brightness behavior.
- Check ports/cables included (full‑featured USB‑C cable matters more than extra ports).
Why Mac-specific compatibility matters: M1/M2 differences and DisplayPort vs. Thunderbolt
The biggest "it doesn't work" risk when buying a จอพกพา USB-C สำหรับ Mac is confusing video-over-USB‑C with charging-only USB‑C. Many portable monitors need USB‑C DisplayPort Alt Mode; some support Thunderbolt/USB4; others rely on HDMI + separate power.
- Good fit: MacBook Air/Pro with USB‑C/Thunderbolt ports, plus a monitor that explicitly supports "USB‑C video" / "DP Alt Mode".
- Be cautious if: you plan to use hubs with many devices, long USB‑C cables, or iPads/iPhones as sources (capability varies by device and cable).
- Don't do this: buy a "USB‑C monitor" that only lists "USB‑C power input" (no DP Alt Mode) unless you're happy using HDMI and separate power.
| Common portable monitor profile | Typical resolution | Approx. PPI (sharpness) | Refresh target | HDR claim type | USB‑C PD pass‑through | Connectors to expect |
|---|---|---|---|---|---|---|
| Budget work/travel (13-15.6") | 1080p | Medium | 60Hz | Often "HDR" marketing only | Sometimes (low to mid wattage) | 1× USB‑C (DP Alt Mode), 1× mini‑HDMI/HDMI, USB‑C power |
| Sharper text & UI (13-15.6") | 1440p or "2.5K" | High | 60-90Hz | Limited (varies) | More likely (mid wattage) | 2× USB‑C (one for video+power), HDMI, sometimes USB‑A |
| Creator preview (15.6-16") | 4K | Very high | 60Hz | HDR input support may exist; real HDR often constrained | Possible, but power budget must match your Mac | USB‑C (DP Alt Mode), HDMI, sometimes DP‑over‑USB‑C only |
| Motion-focused (gaming/scrolling) | 1080p or 1440p | Medium to high | 120-144Hz | Usually basic | Often limited (higher Hz can increase power draw) | USB‑C (DP Alt Mode), HDMI; verify macOS supports the chosen mode |
Pricing reality in Thailand: when comparing จอพกพาสำหรับ MacBook ราคา, prioritize the feature that avoids extra purchases (a full-feature USB‑C cable, a stable stand/cover, and the right port mix). A "cheaper" screen can become more expensive after replacing cables, adding a hub, or buying a higher-watt USB‑C charger.
Resolution and pixel density: matching display PPI to Retina expectations
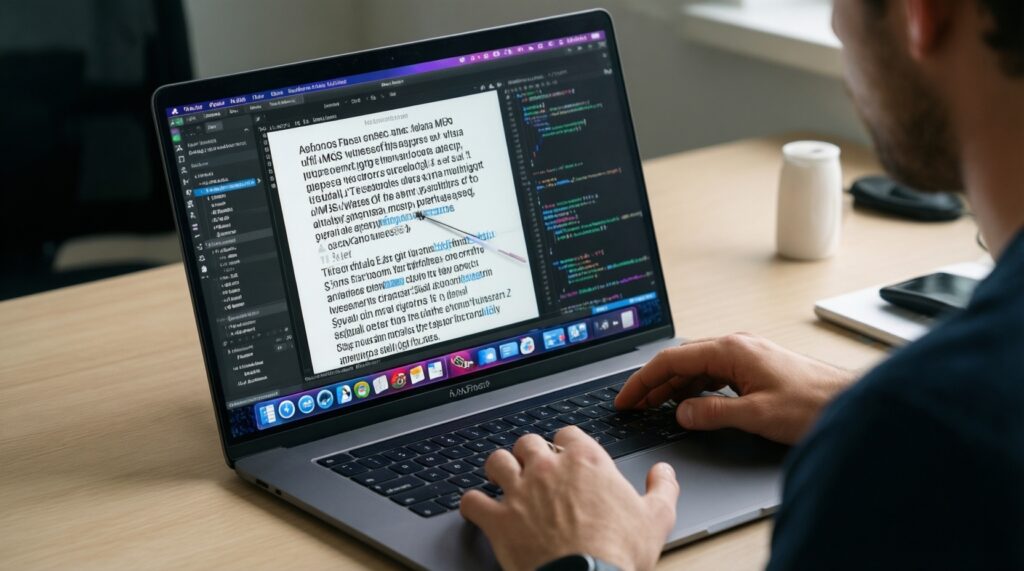
You don't need "Retina" PPI to be productive, but you do need a comfortable scaling mode in macOS. Before buying, prepare:
- Your typical viewing distance: lap use is closer than desk use; closer distances expose low PPI more.
- Your main workload: code/text (sharpness), timelines (horizontal space), spreadsheets (vertical space), presentations (brightness/anti-glare).
- macOS scaling expectations: you may prefer "More Space" or "Larger Text"; the display should look good in both.
- Connection plan: direct USB‑C to Mac vs through a hub/dock (docks can limit modes).
- One known-good cable: a short, full-feature USB‑C cable that supports video (not charge-only).
Refresh rate and motion handling: choosing between 60Hz, 90Hz and 120Hz for Mac use
-
Decide what "smooth" means for you
For coding, writing, and office work, 60Hz is usually fine; higher refresh mainly improves scrolling and pointer motion. For gaming, consider 120Hz or a จอพกพา 144Hz USB-C, but only if your Mac + connection can actually output that mode.
-
Lock in the simplest connection first (direct USB‑C)
Test with a direct USB‑C connection from Mac to monitor (no hub). This isolates cable and dock issues that can silently cap you at 60Hz.
- If the monitor needs extra power, plug power into the monitor first, then connect to the Mac.
- If the screen flickers, swap the cable before changing settings.
-
Verify the refresh rate in macOS Display settings
Open System Settings → Displays and check Refresh Rate. If the higher rate doesn't appear, the bottleneck is usually the cable, the hub, or the monitor's USB‑C mode.
-
Confirm stability with a real workload
Run your typical apps and scroll long pages, move windows, and play a video. Some portable displays advertise high Hz but become unstable on single-cable power; stability matters more than a headline refresh number.
-
Only then consider HDMI as a fallback
If USB‑C won't expose the desired mode, HDMI might work-at the cost of an extra cable and usually separate power. Treat this as a contingency, not the default.
Fast-track mode: a 60-second selection algorithm
- Pick resolution by priority: 1080p for budget/travel, 1440p/2.5K for sharp text, 4K for detailed preview.
- Pick refresh by use: 60Hz for work, 90-120Hz for smooth scrolling, 120-144Hz only if you truly game.
- Choose power strategy: single-cable with PD pass‑through if you move a lot; otherwise separate charger is simpler.
- Shortlist only models that state: "USB‑C DP Alt Mode" (or equivalent) and list supported refresh/resolutions clearly.
Example configurations by workflow
- Coding + docs (coffee shop): 13-15.6" at 1440p/2.5K, 60-90Hz, matte if possible; direct USB‑C video with a compact charger. Use macOS scaling that keeps fonts crisp.
- Video editing (travel rig): 15.6-16" at 4K, prioritize consistent color and stable 60Hz; use a powered setup (monitor power + Mac power) rather than forcing single-cable if it causes dimming or disconnects.
- Client presentation (portable): 15.6" 1080p, bright enough for indoor rooms, reliable HDMI + USB‑C power as backup; keep a spare cable set in the bag.
HDR on portable monitors: formats, real-world benefits and macOS limitations
If you're shopping for a จอพกพา HDR USB-C, assume the label mostly means "accepts an HDR signal," not that you'll get TV-like HDR impact. Use this checklist to validate HDR usefulness on macOS:
- In macOS Display settings, an HDR toggle appears for that display (when connected the way you plan to use it).
- Turning HDR on does not cause excessive dimming of the desktop in normal lighting.
- SDR content (web, documents) still looks natural; whites aren't gray and skin tones aren't oversaturated.
- HDR video playback works in your intended app (your browser/app choice can matter).
- Brightness remains stable when the monitor is powered by one cable vs external power.
- No persistent flicker, blackouts, or repeated reconnects when HDR is enabled.
- Color profile options in macOS are available and switching profiles doesn't break stability.
Power delivery and pass-through strategies: balancing wattage, charging and dongles
Power is where portable monitor setups fail most often-especially when you expect single-cable convenience. Common mistakes to avoid:
- Assuming every USB‑C port on the monitor supports both video and power pass‑through (some ports are input-only).
- Buying a monitor that claims pass‑through but pairing it with an underpowered charger, leading to battery drain under load.
- Using a charge-only USB‑C cable and wondering why video doesn't appear.
- Routing video through a multiport hub that limits refresh rates or causes intermittent dropouts.
- Expecting stable high refresh + HDR on a single cable when the monitor draws more power (screen may dim or disconnect).
- Powering the monitor from the Mac while also expecting the monitor to charge the Mac (circular expectation).
- Ignoring heat: some compact chargers throttle; place them with airflow during long sessions.
- Not checking whether your chosen setup supports a true จอพกพา USB-C จ่ายไฟได้ workflow (charger → monitor → Mac) without losing display stability.
Ports, adapters and macOS quirks: what to test before you buy
When specs are vague, plan around practical alternatives that keep you productive even if one mode is flaky:
- Direct USB‑C (DP Alt Mode) as the primary path
Best for travel: one cable for video (and sometimes power). Choose this when you want the cleanest macOS behavior and fewer points of failure. - USB‑C + separate power (two-cable stability)
Use when you need reliable brightness, stable HDR, or consistent refresh. It often reduces flicker and random disconnects versus single-cable setups. - HDMI fallback via a small adapter
Use when USB‑C video modes are limited by a hub/dock, or when presenting to other displays. Keep it as a backup because it adds cables and usually needs separate power. - Thunderbolt/USB4 dock only if you truly need it
Useful for desk setups with multiple peripherals, but verify it can pass the refresh/resolution you want; some docks constrain high refresh portable panels.
Quick clarifications for common selection dilemmas
Will any "USB‑C" portable monitor work with a MacBook?
No. It must support USB‑C video (DisplayPort Alt Mode) or you must be prepared to use HDMI plus power.
Is 4K always better for macOS on a portable display?
Not always. 4K can look very sharp, but scaling and power needs may be less convenient than a good 1440p/2.5K option for everyday text work.
Do I need 120Hz/144Hz for productivity?
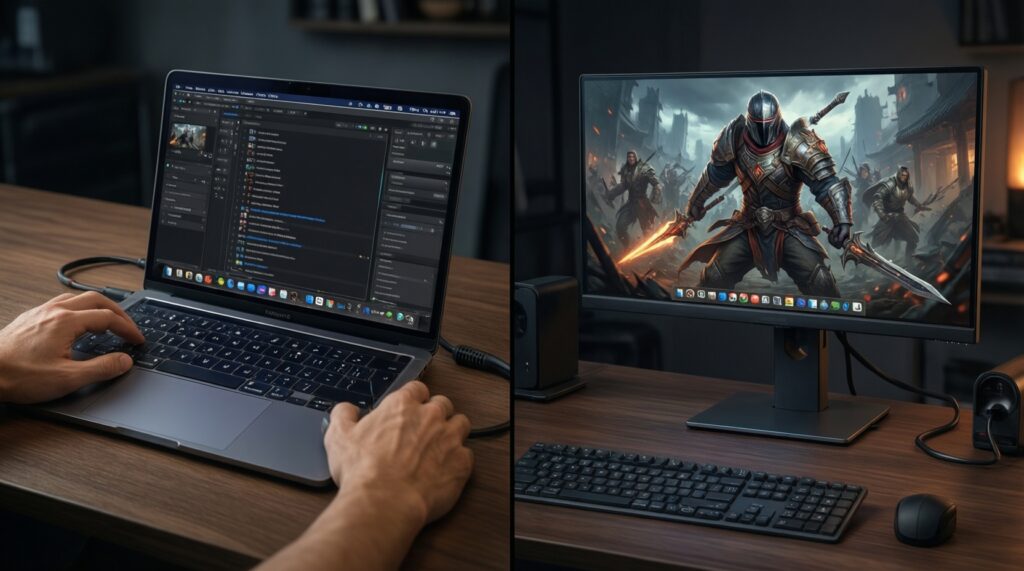
Usually no. 90-120Hz can feel nicer for scrolling, but 60Hz is fine for most work; reserve จอพกพา 144Hz USB-C for gaming or motion-heavy use.
Why does HDR sometimes make the desktop look dim?
Portable monitors often have limited real HDR capability. macOS HDR mode can change tone mapping, making SDR desktop elements look darker.
Can a portable monitor charge my Mac with one cable?
Only if it supports USB‑C PD pass‑through and you use a sufficiently strong charger. Otherwise you may see slow charging, battery drain, or instability.
What's the quickest compatibility test before purchase?
Confirm the monitor explicitly lists "USB‑C DP Alt Mode" and lists supported resolutions/refresh rates for USB‑C input, not only for HDMI.
How should I think about จอพกพาสำหรับ MacBook ราคา when choosing?
Budget for the whole setup: a proven video-capable USB‑C cable and a charger (if you want pass‑through) often matter more than small panel differences.